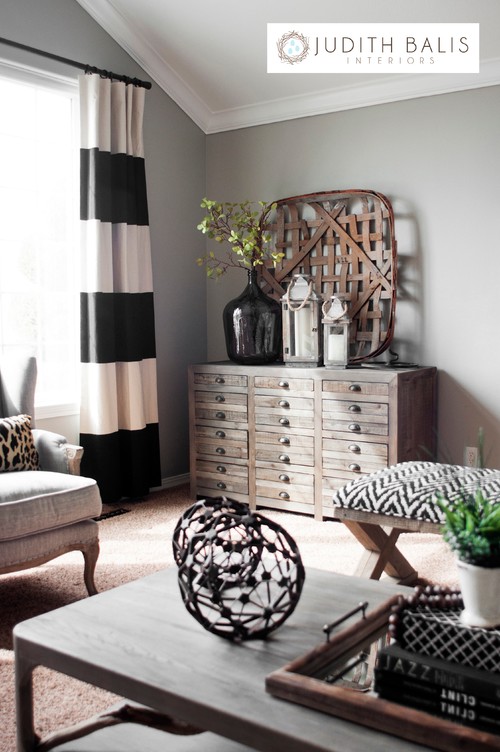
You may have seen Tobacco Baskets on images floating around the internet lately. I have wanted one for oh so long! But they are hard to come by and when I have, they are super expensive so I have passed on them.
While I have seen the baskets styled in more of a farm house fashion- I love them because they are grand in size and are so beautifully crafted as they were used to carry heavy tobacco leaves to markets. Originally made from Oak wood, they held up very well! I eventually would like to have several to use on the large vaulted staircase wall. But here is an example of an original version!
Because I couldn’t wait any longer to A) Find one or B) Afford one, I decided to do what I do… It was time to try and DIY this basket.
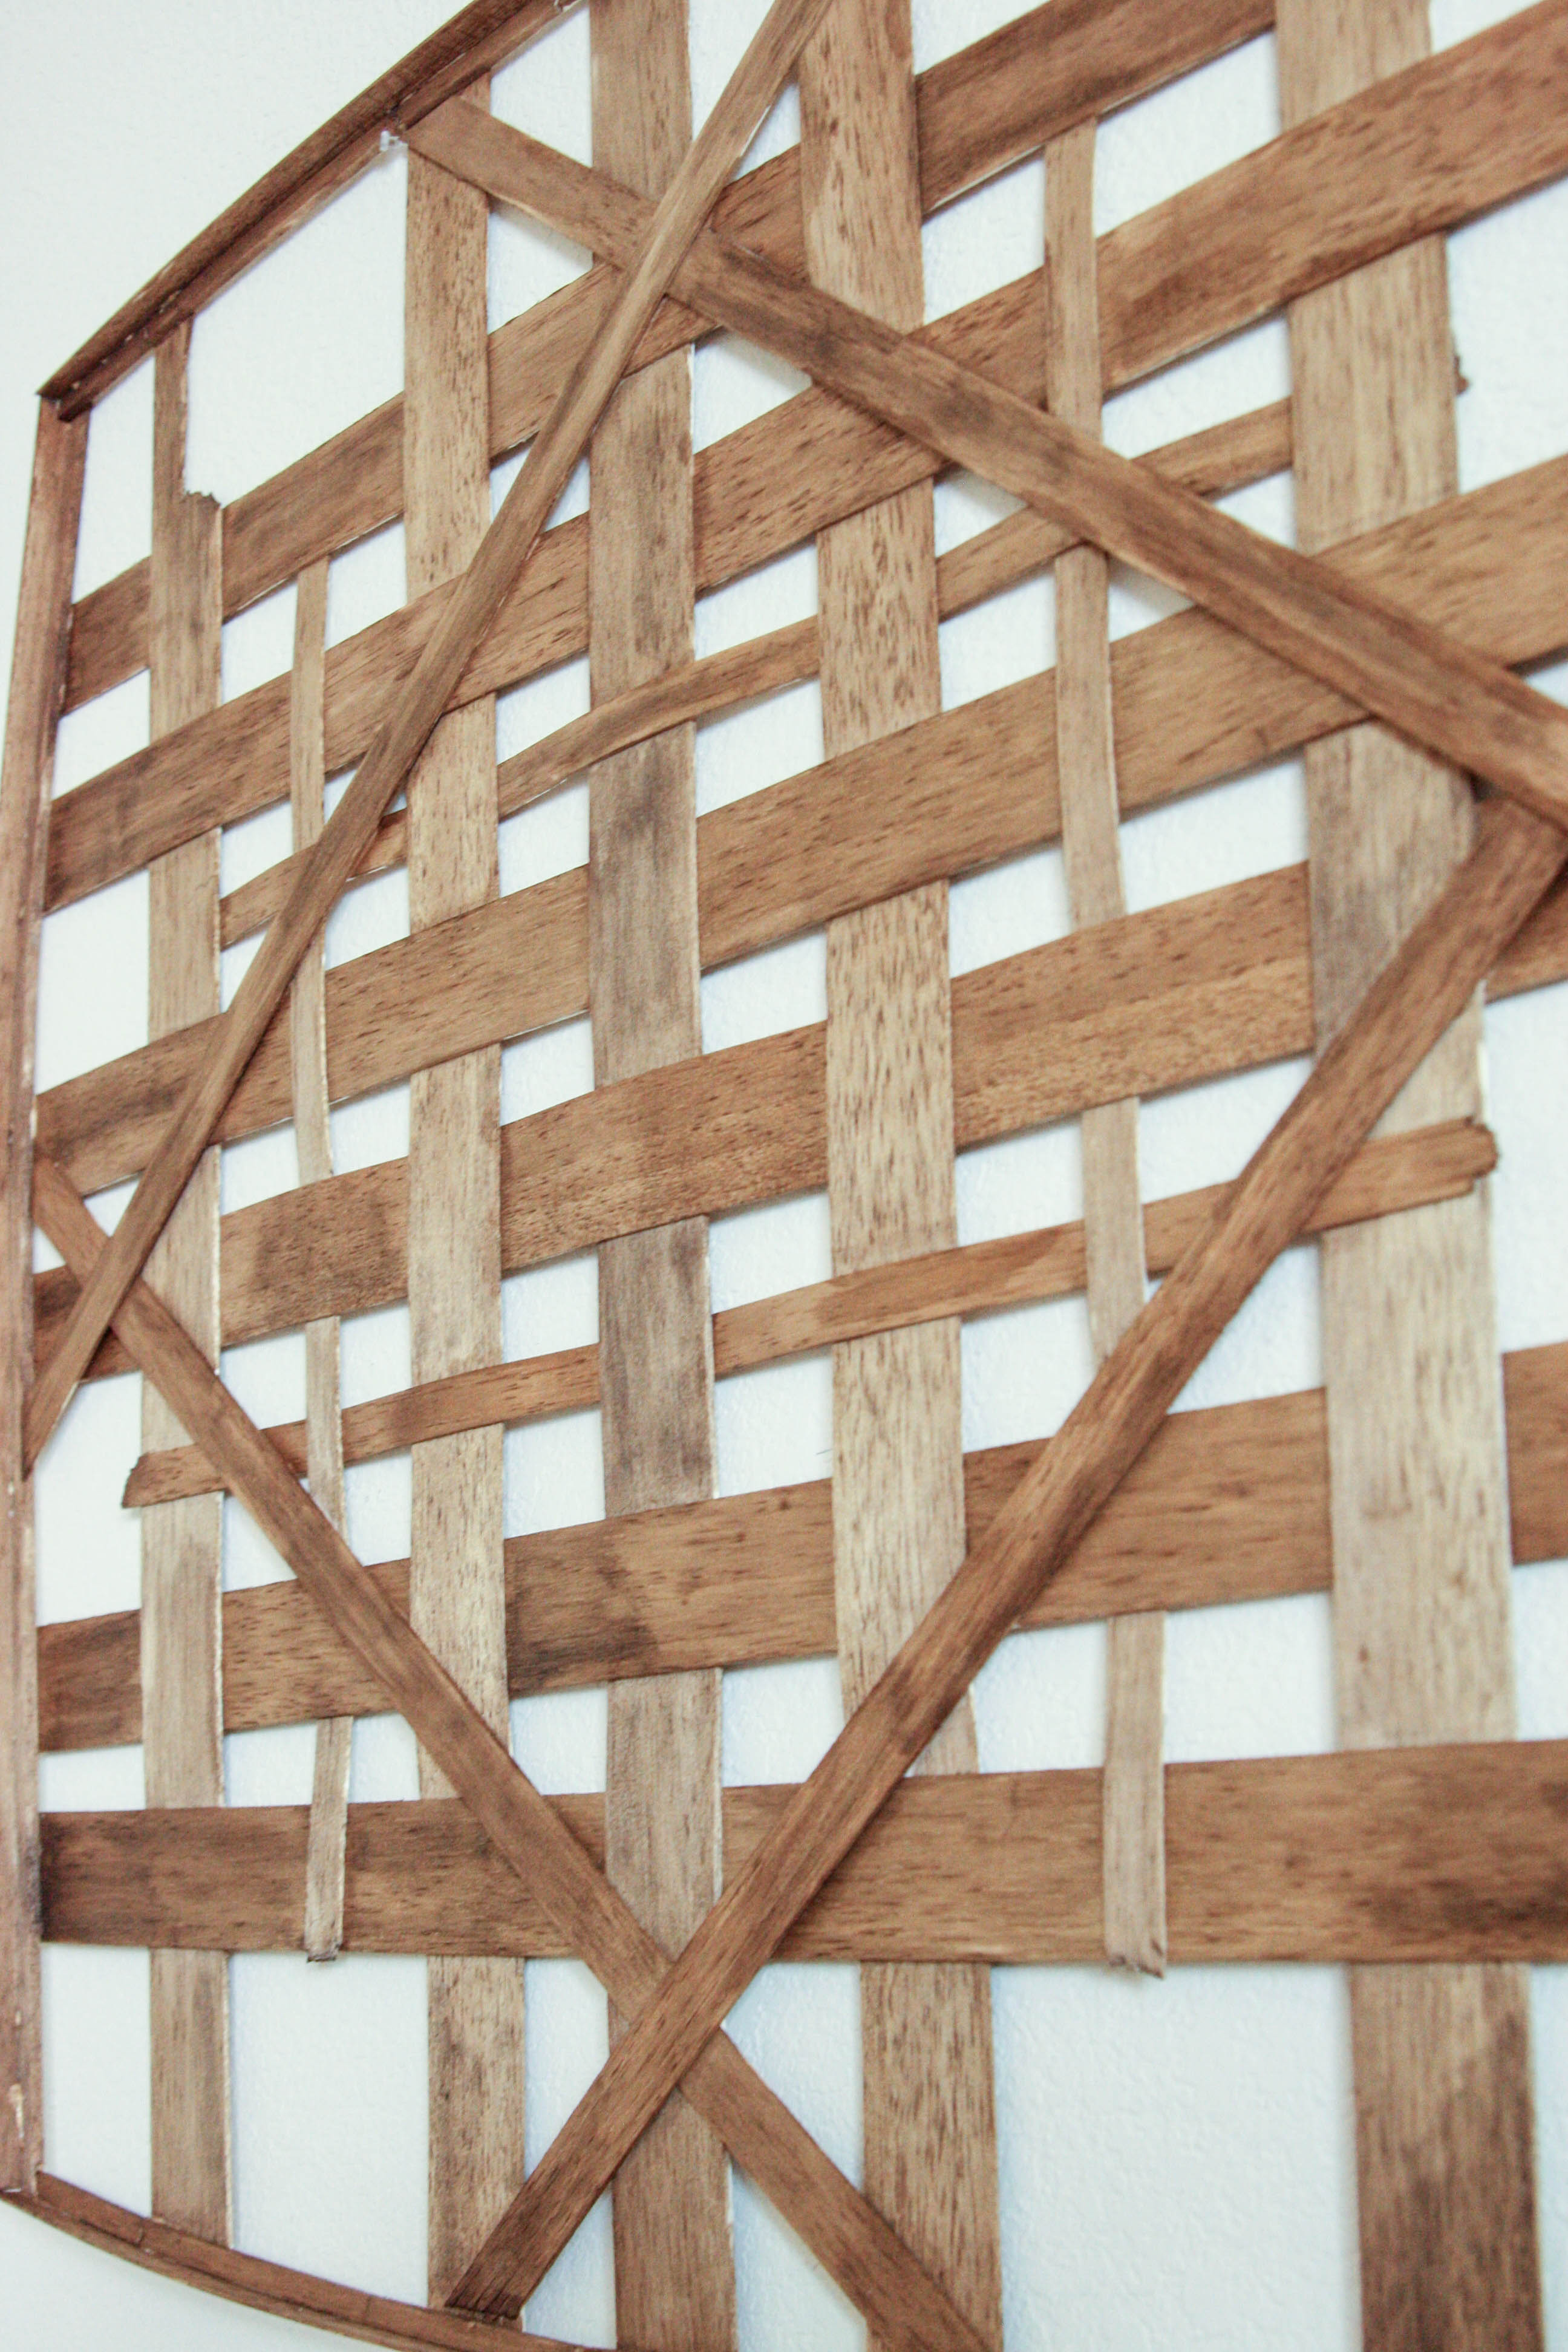
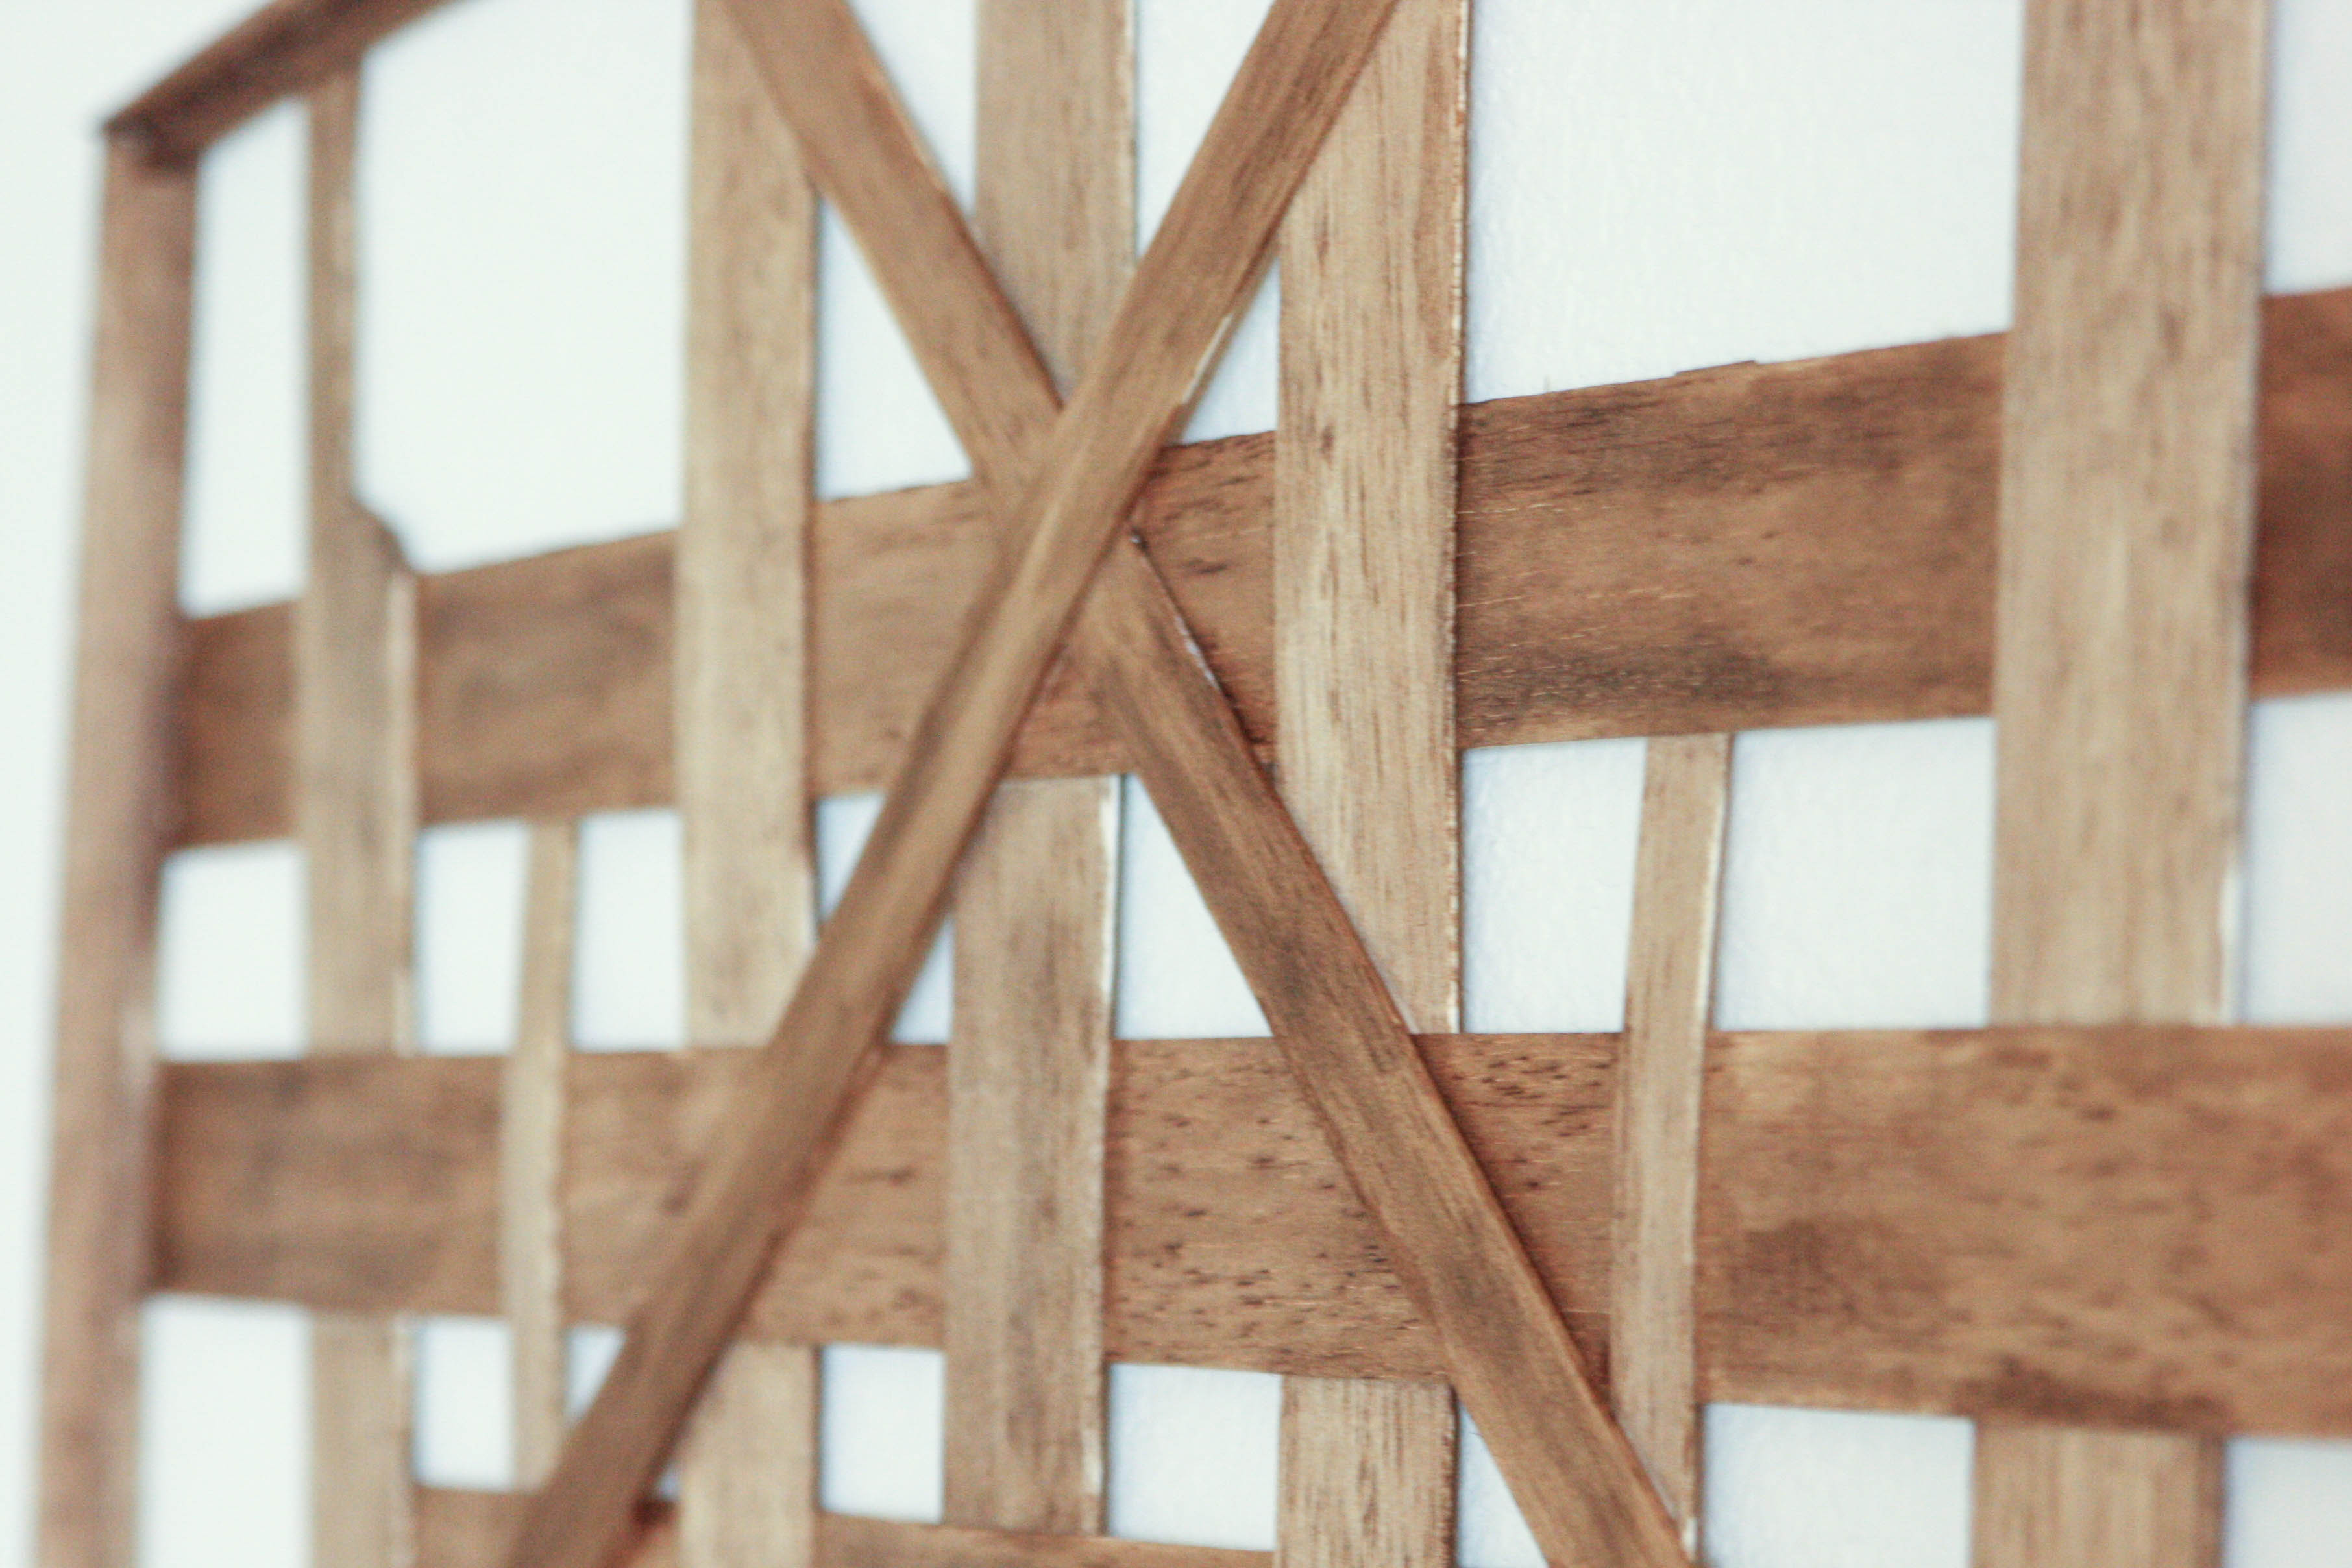
I wanted to find a wood that was flexible and would bend and weave well and on one of my many trips to Hobby Lobby I remembered seeing some strips of Balsa wood in the way back of the store. I grabbed several in different sizes so that I could play around with it a bit and just dove in with some hot glue!
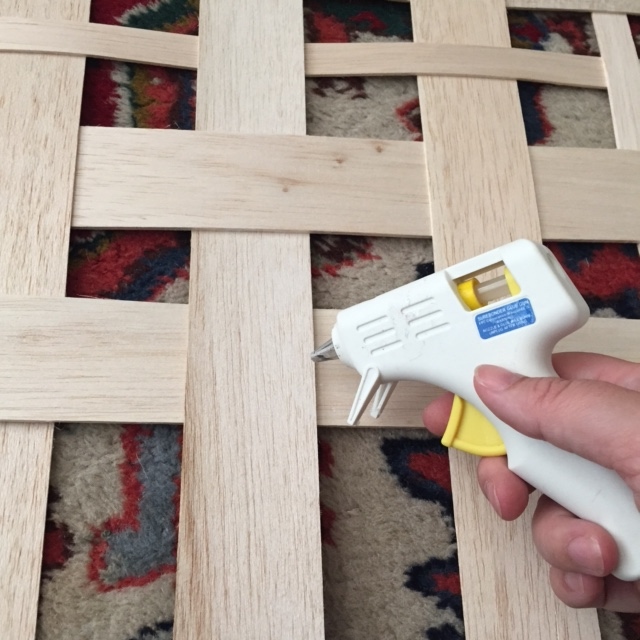
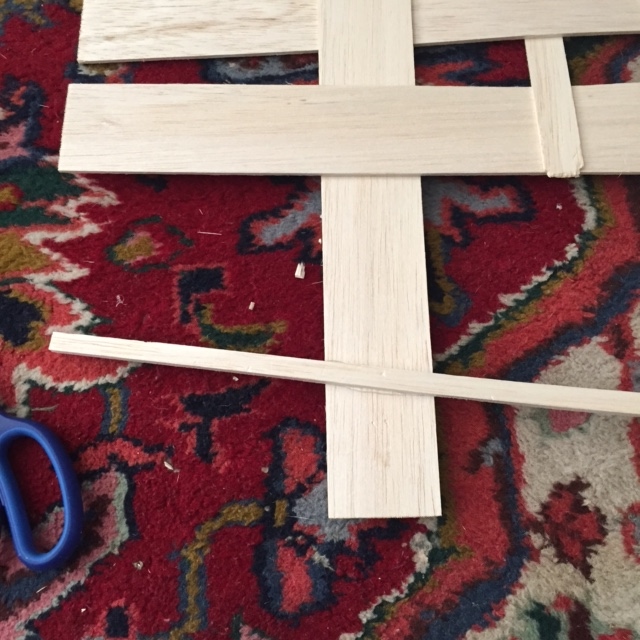
I laid out a pattern that I liked and then wove the wood together. I then hot glued any overlapping pieces. And yes, I did do all of this on my good Persian rug because that’s where I landed and time was limited because the kids always want to be picked up from school for some reason 😉
I used 4 smaller but thicker pieces for the sides to hold it all together.
And when I glued the sides on, I curved them so that it would appear inverted more then it is. The excess I was able to just cut off with scissors because it is such soft, pliable
wood.
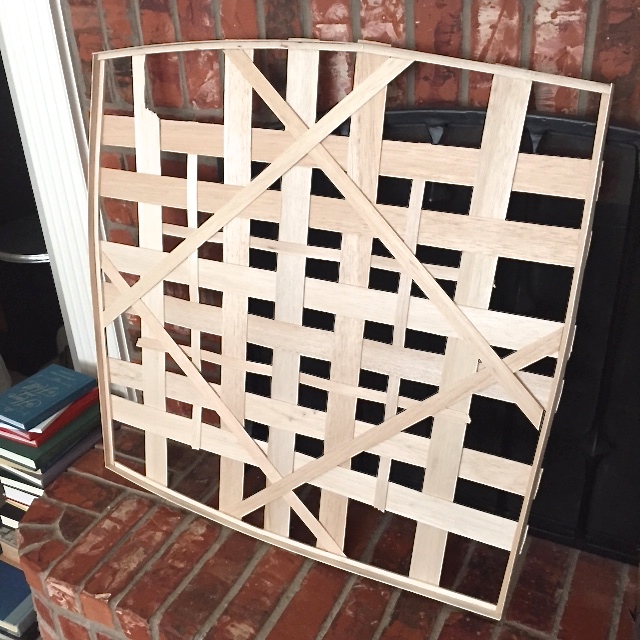
After that, I started playing with some accent pieces I wanted to add and finally decided on this criss cross pattern while also glueing thicker pieces on the perimeter. A little metal hanger glued onto the back and I could put my glue gun away!
Now the tedious task of staining it! I wanted it took look old, obvi, so I used several different stains, all that I just had on hand, and went to town. Yes, I realize that’s not a great tutorial for you, but sometimes you just have to work off the cuff and figure out what works best as you go! But for reference most of the inspiration pictures I looked at had an all over lighter stain and then a darker stain towards the corners.
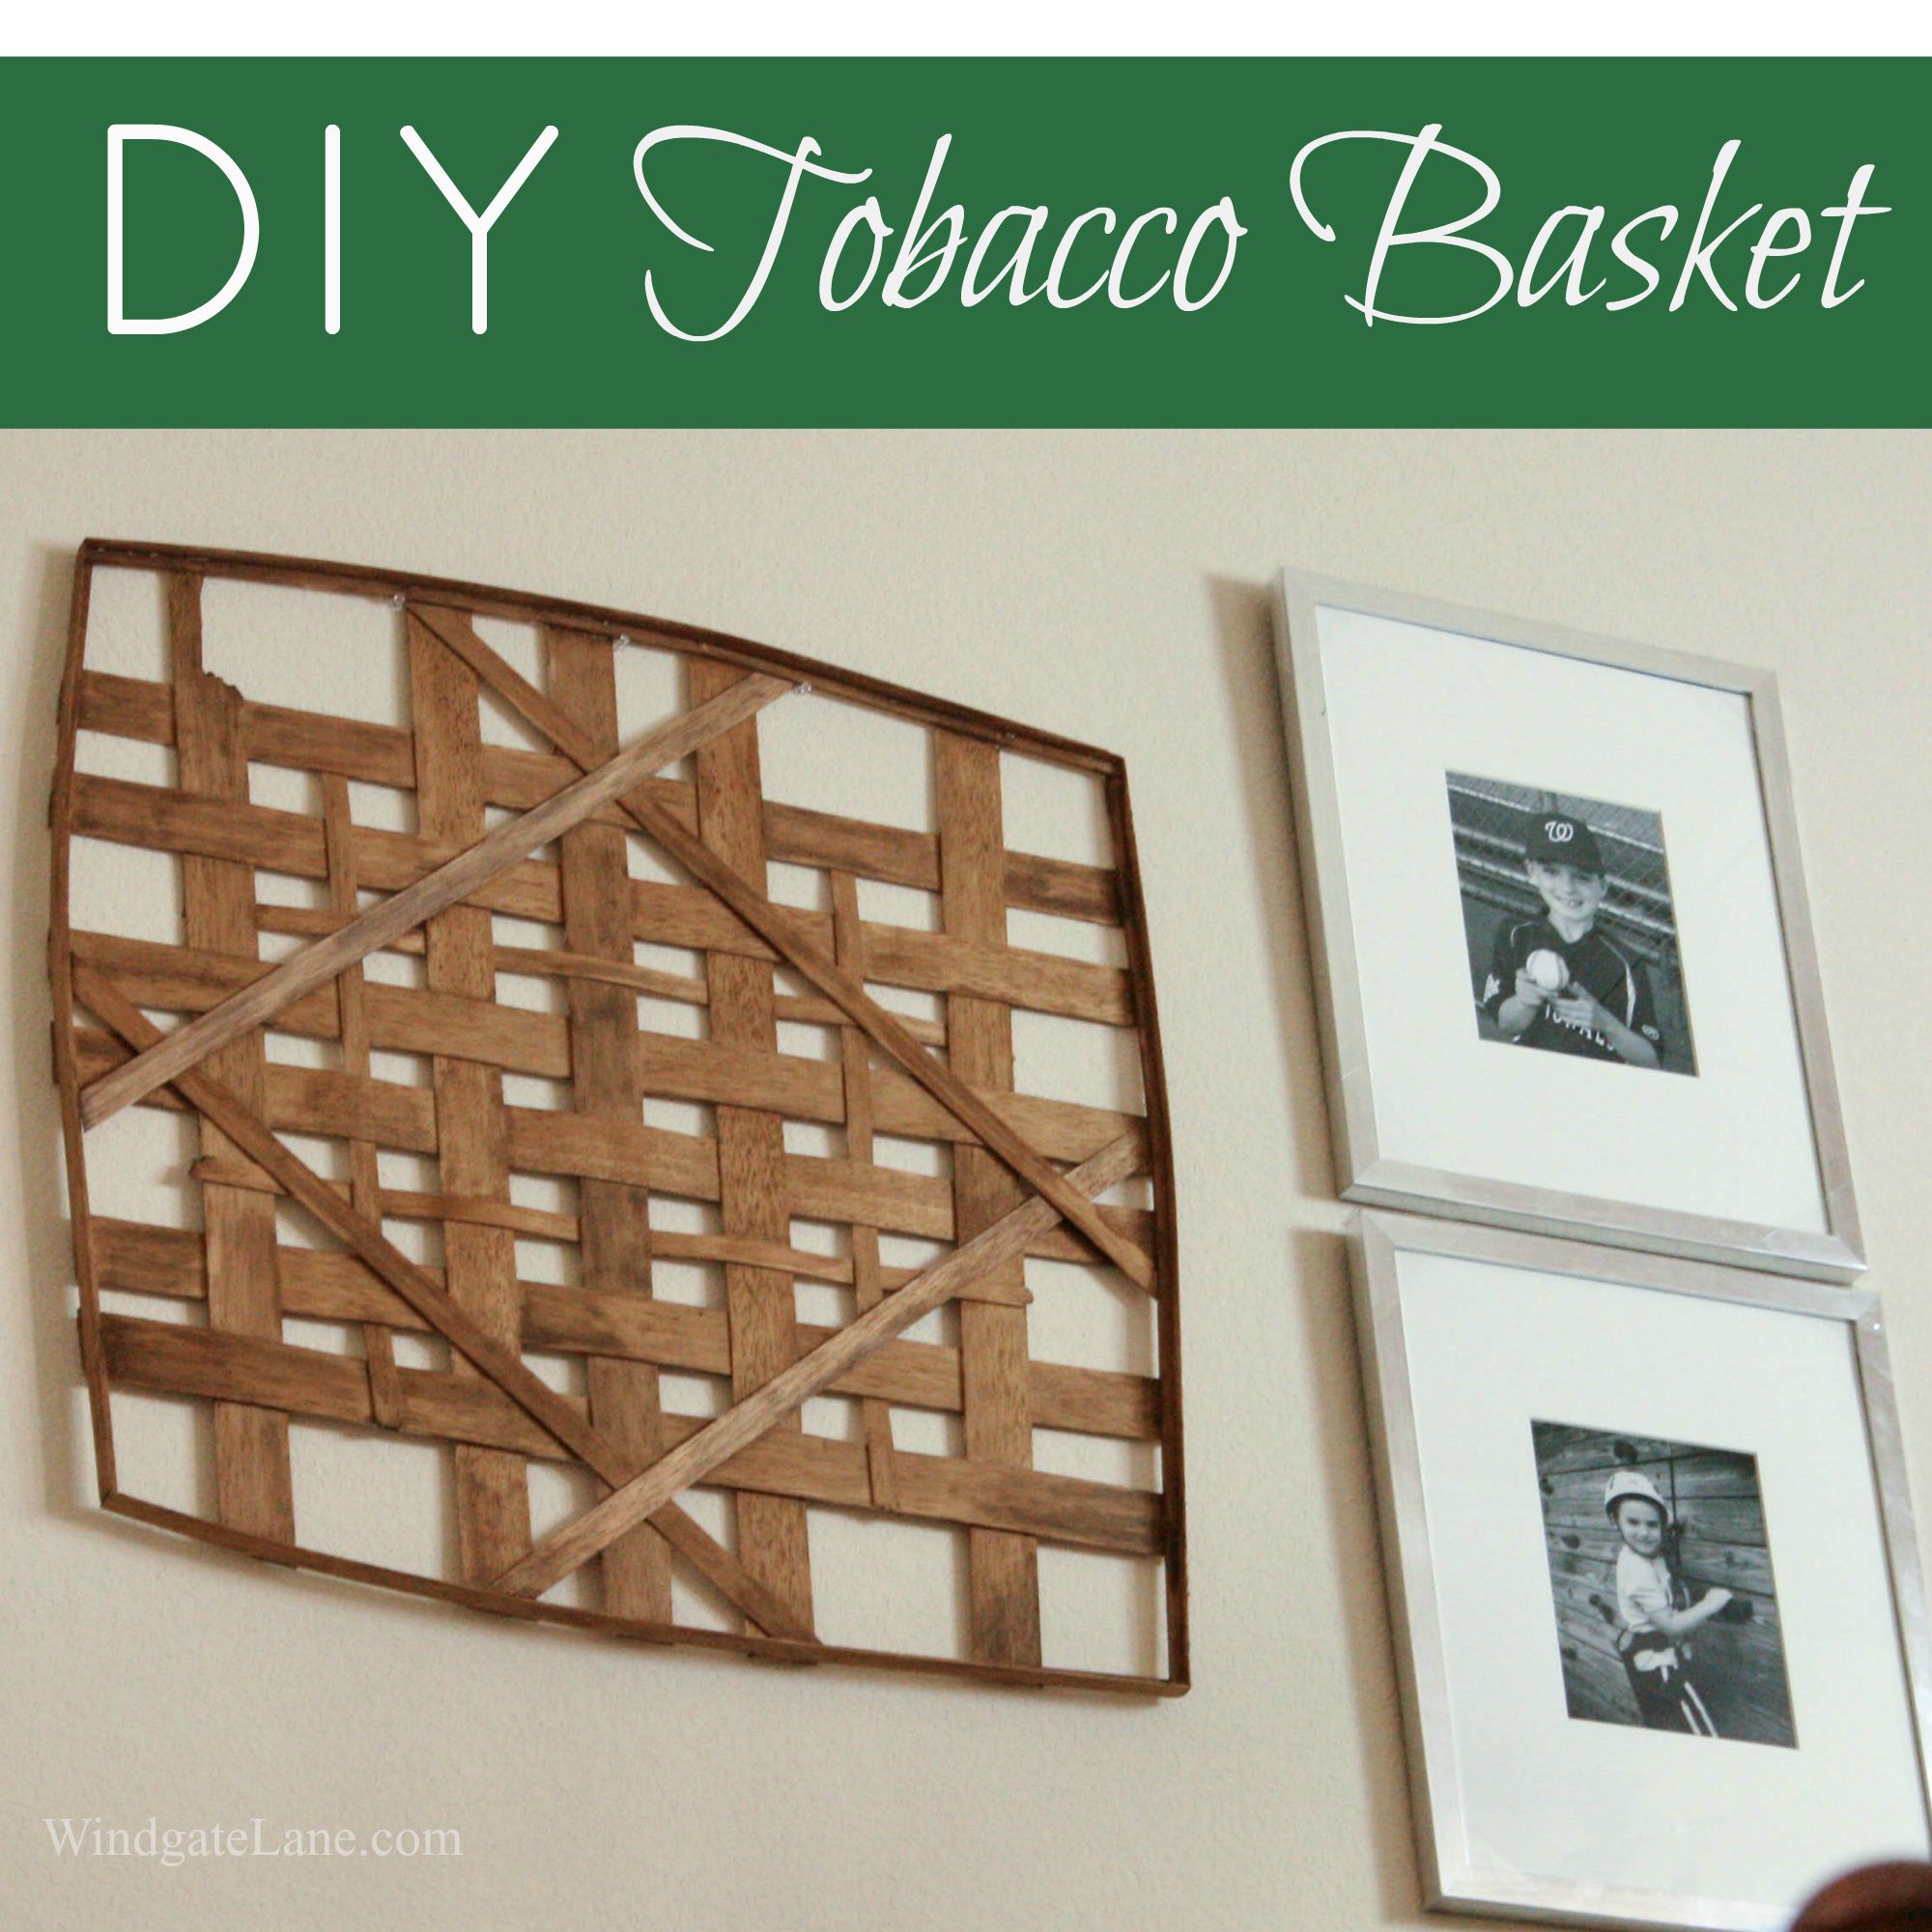
While it isn’t the real deal, I am pretty pleased with it and it makes a beautiful large statement piece! I can’t wait to add a few of the real deals to make my collection:)
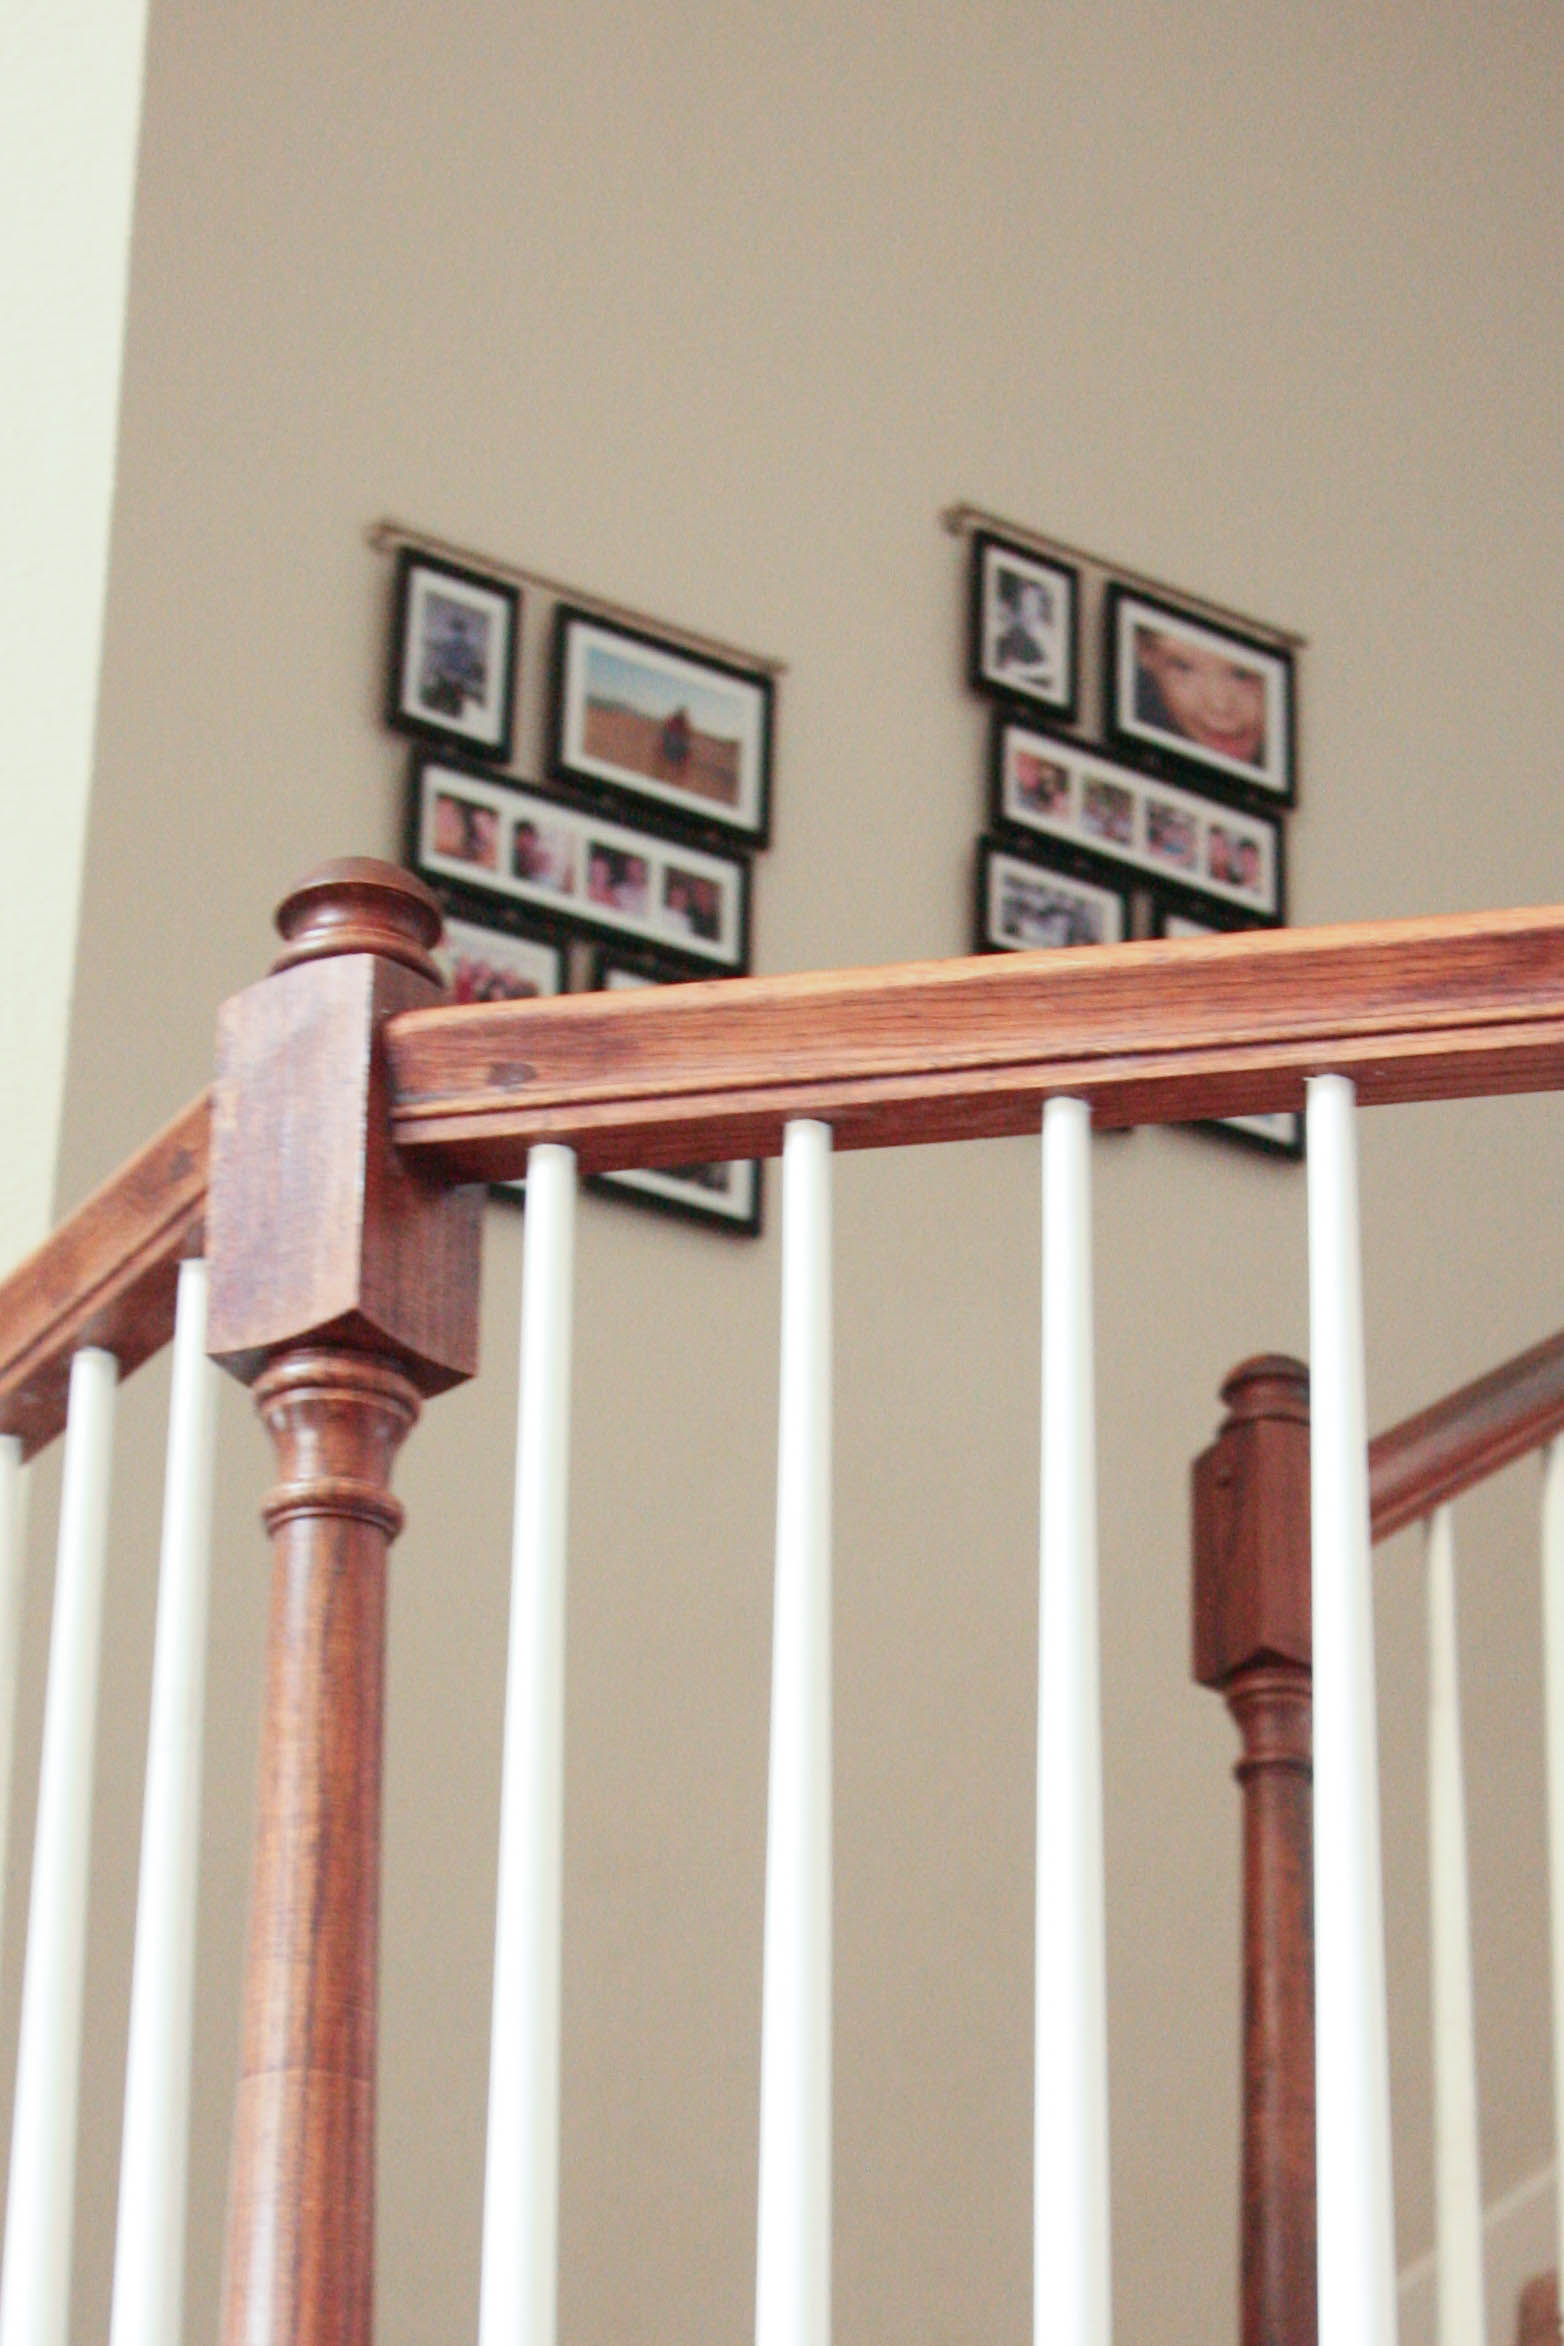
Stairway Before:
and Stairway Now:
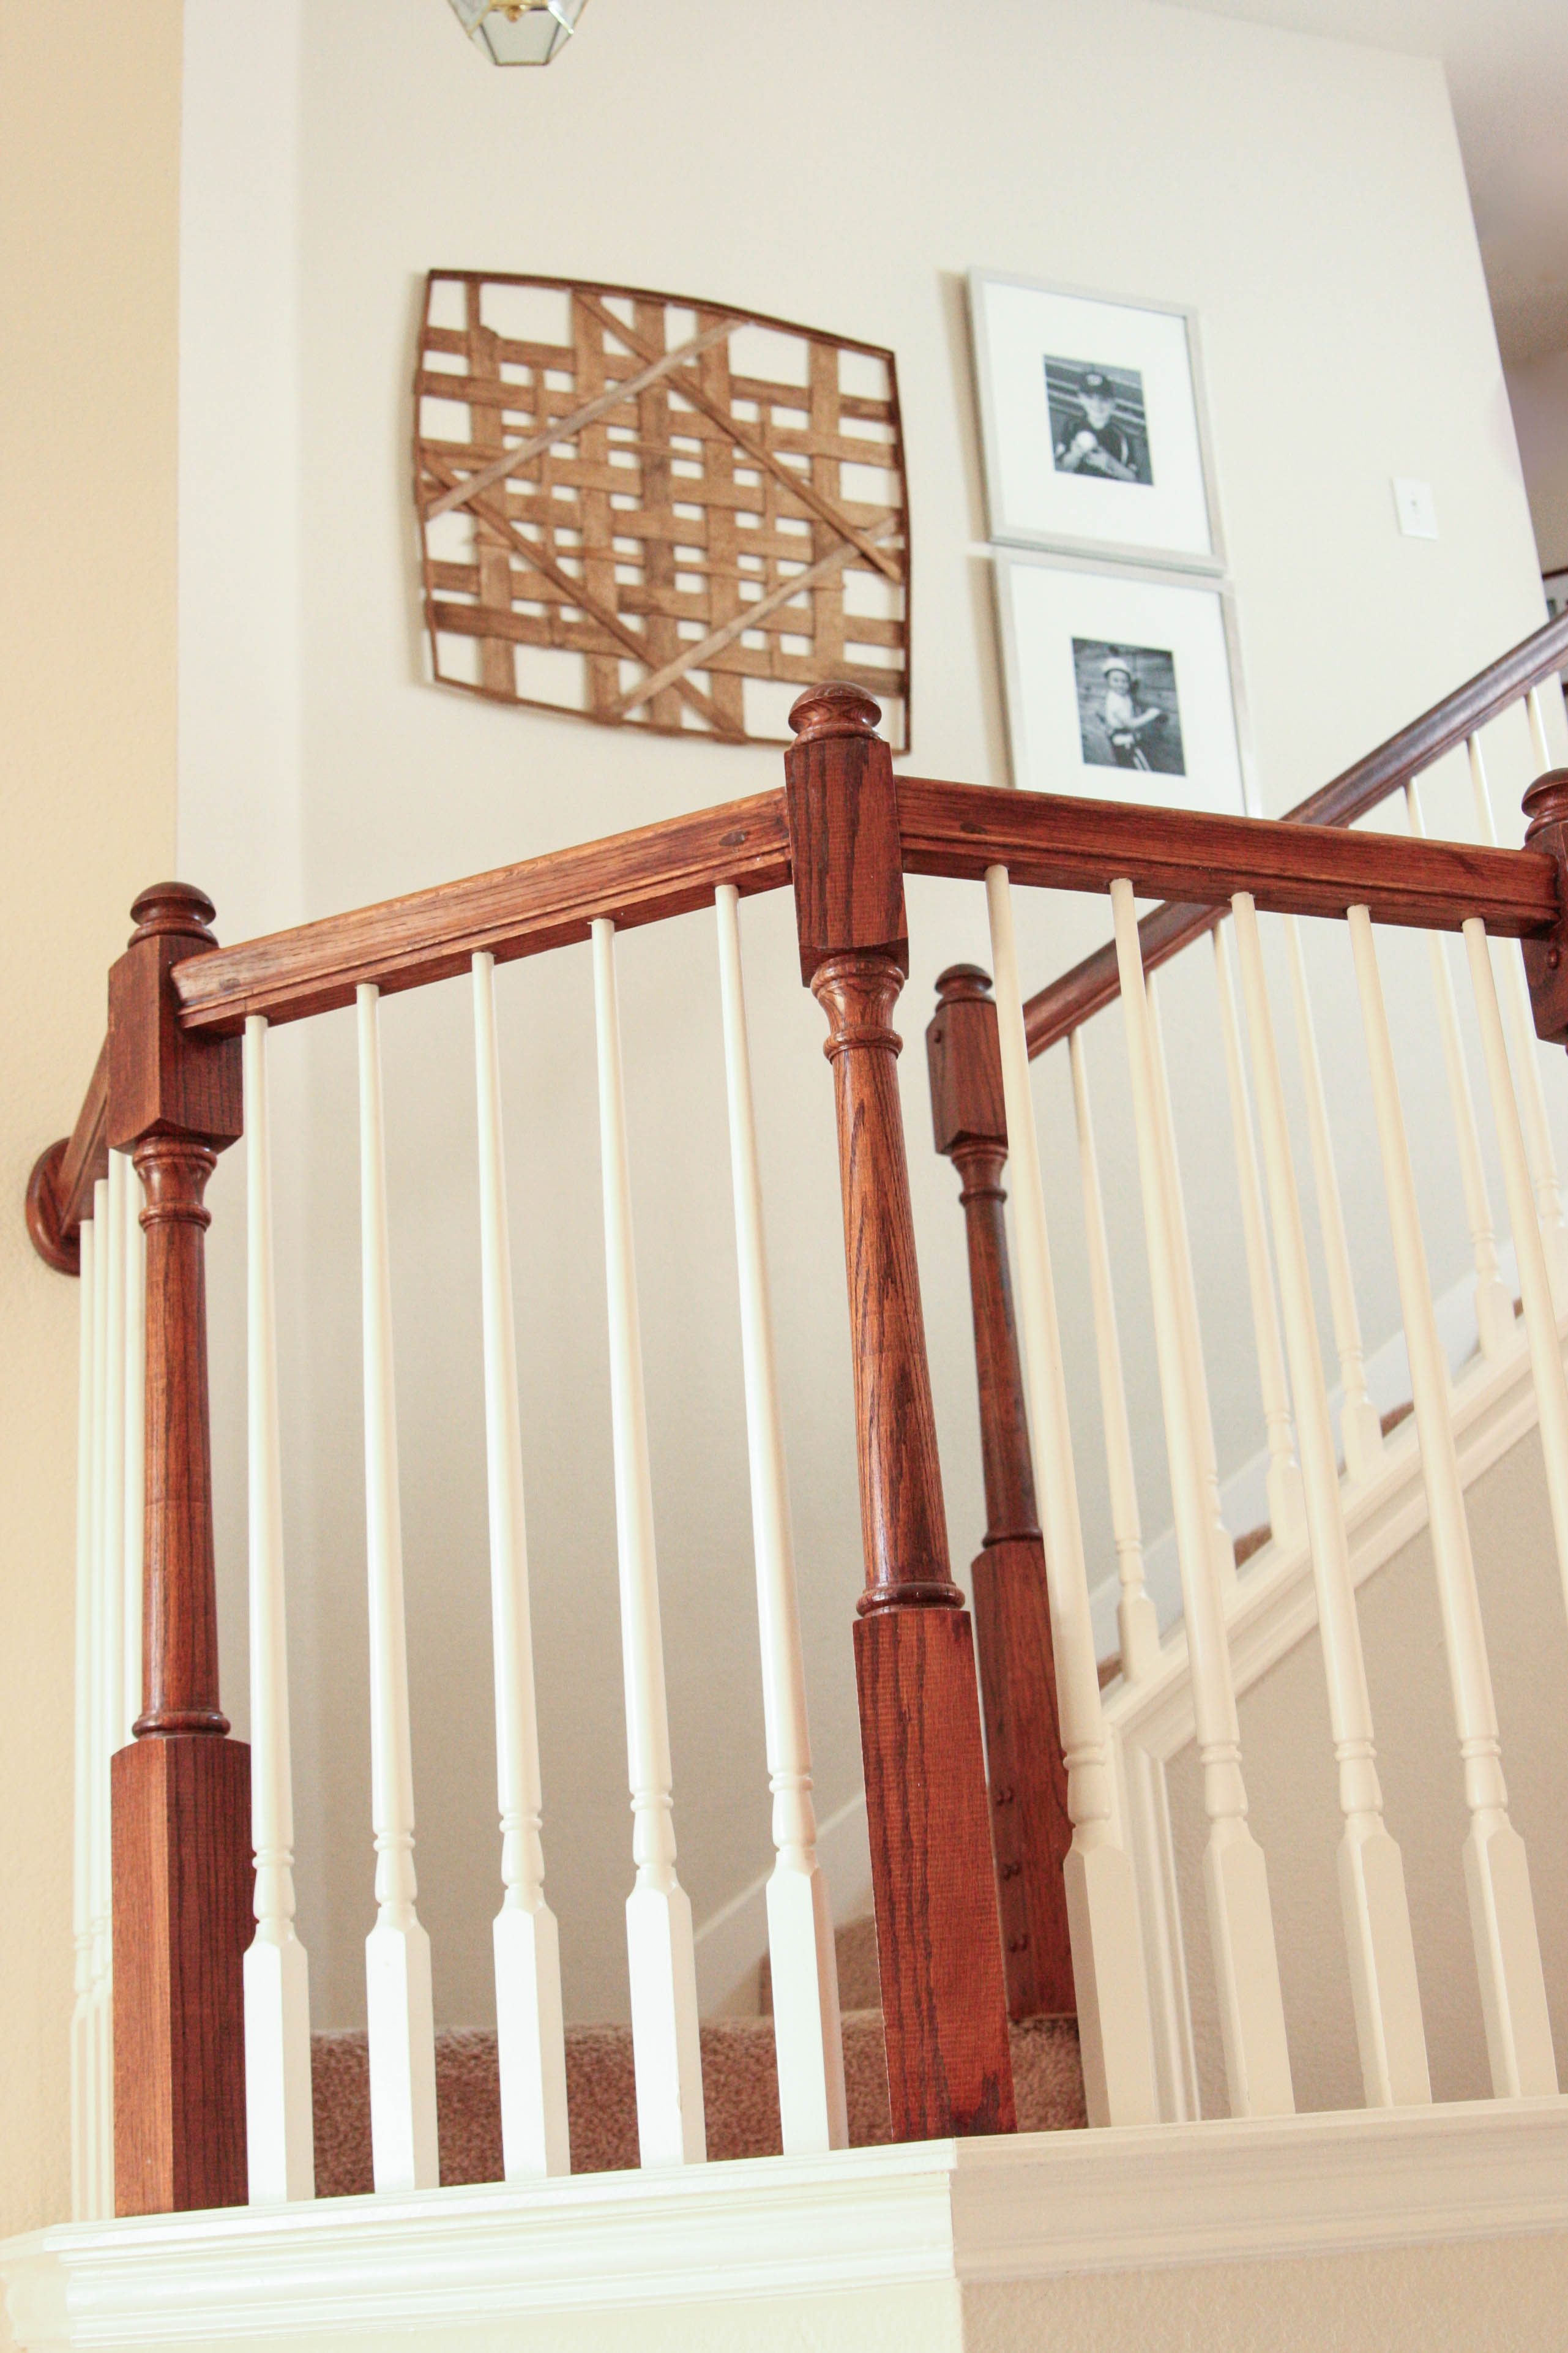
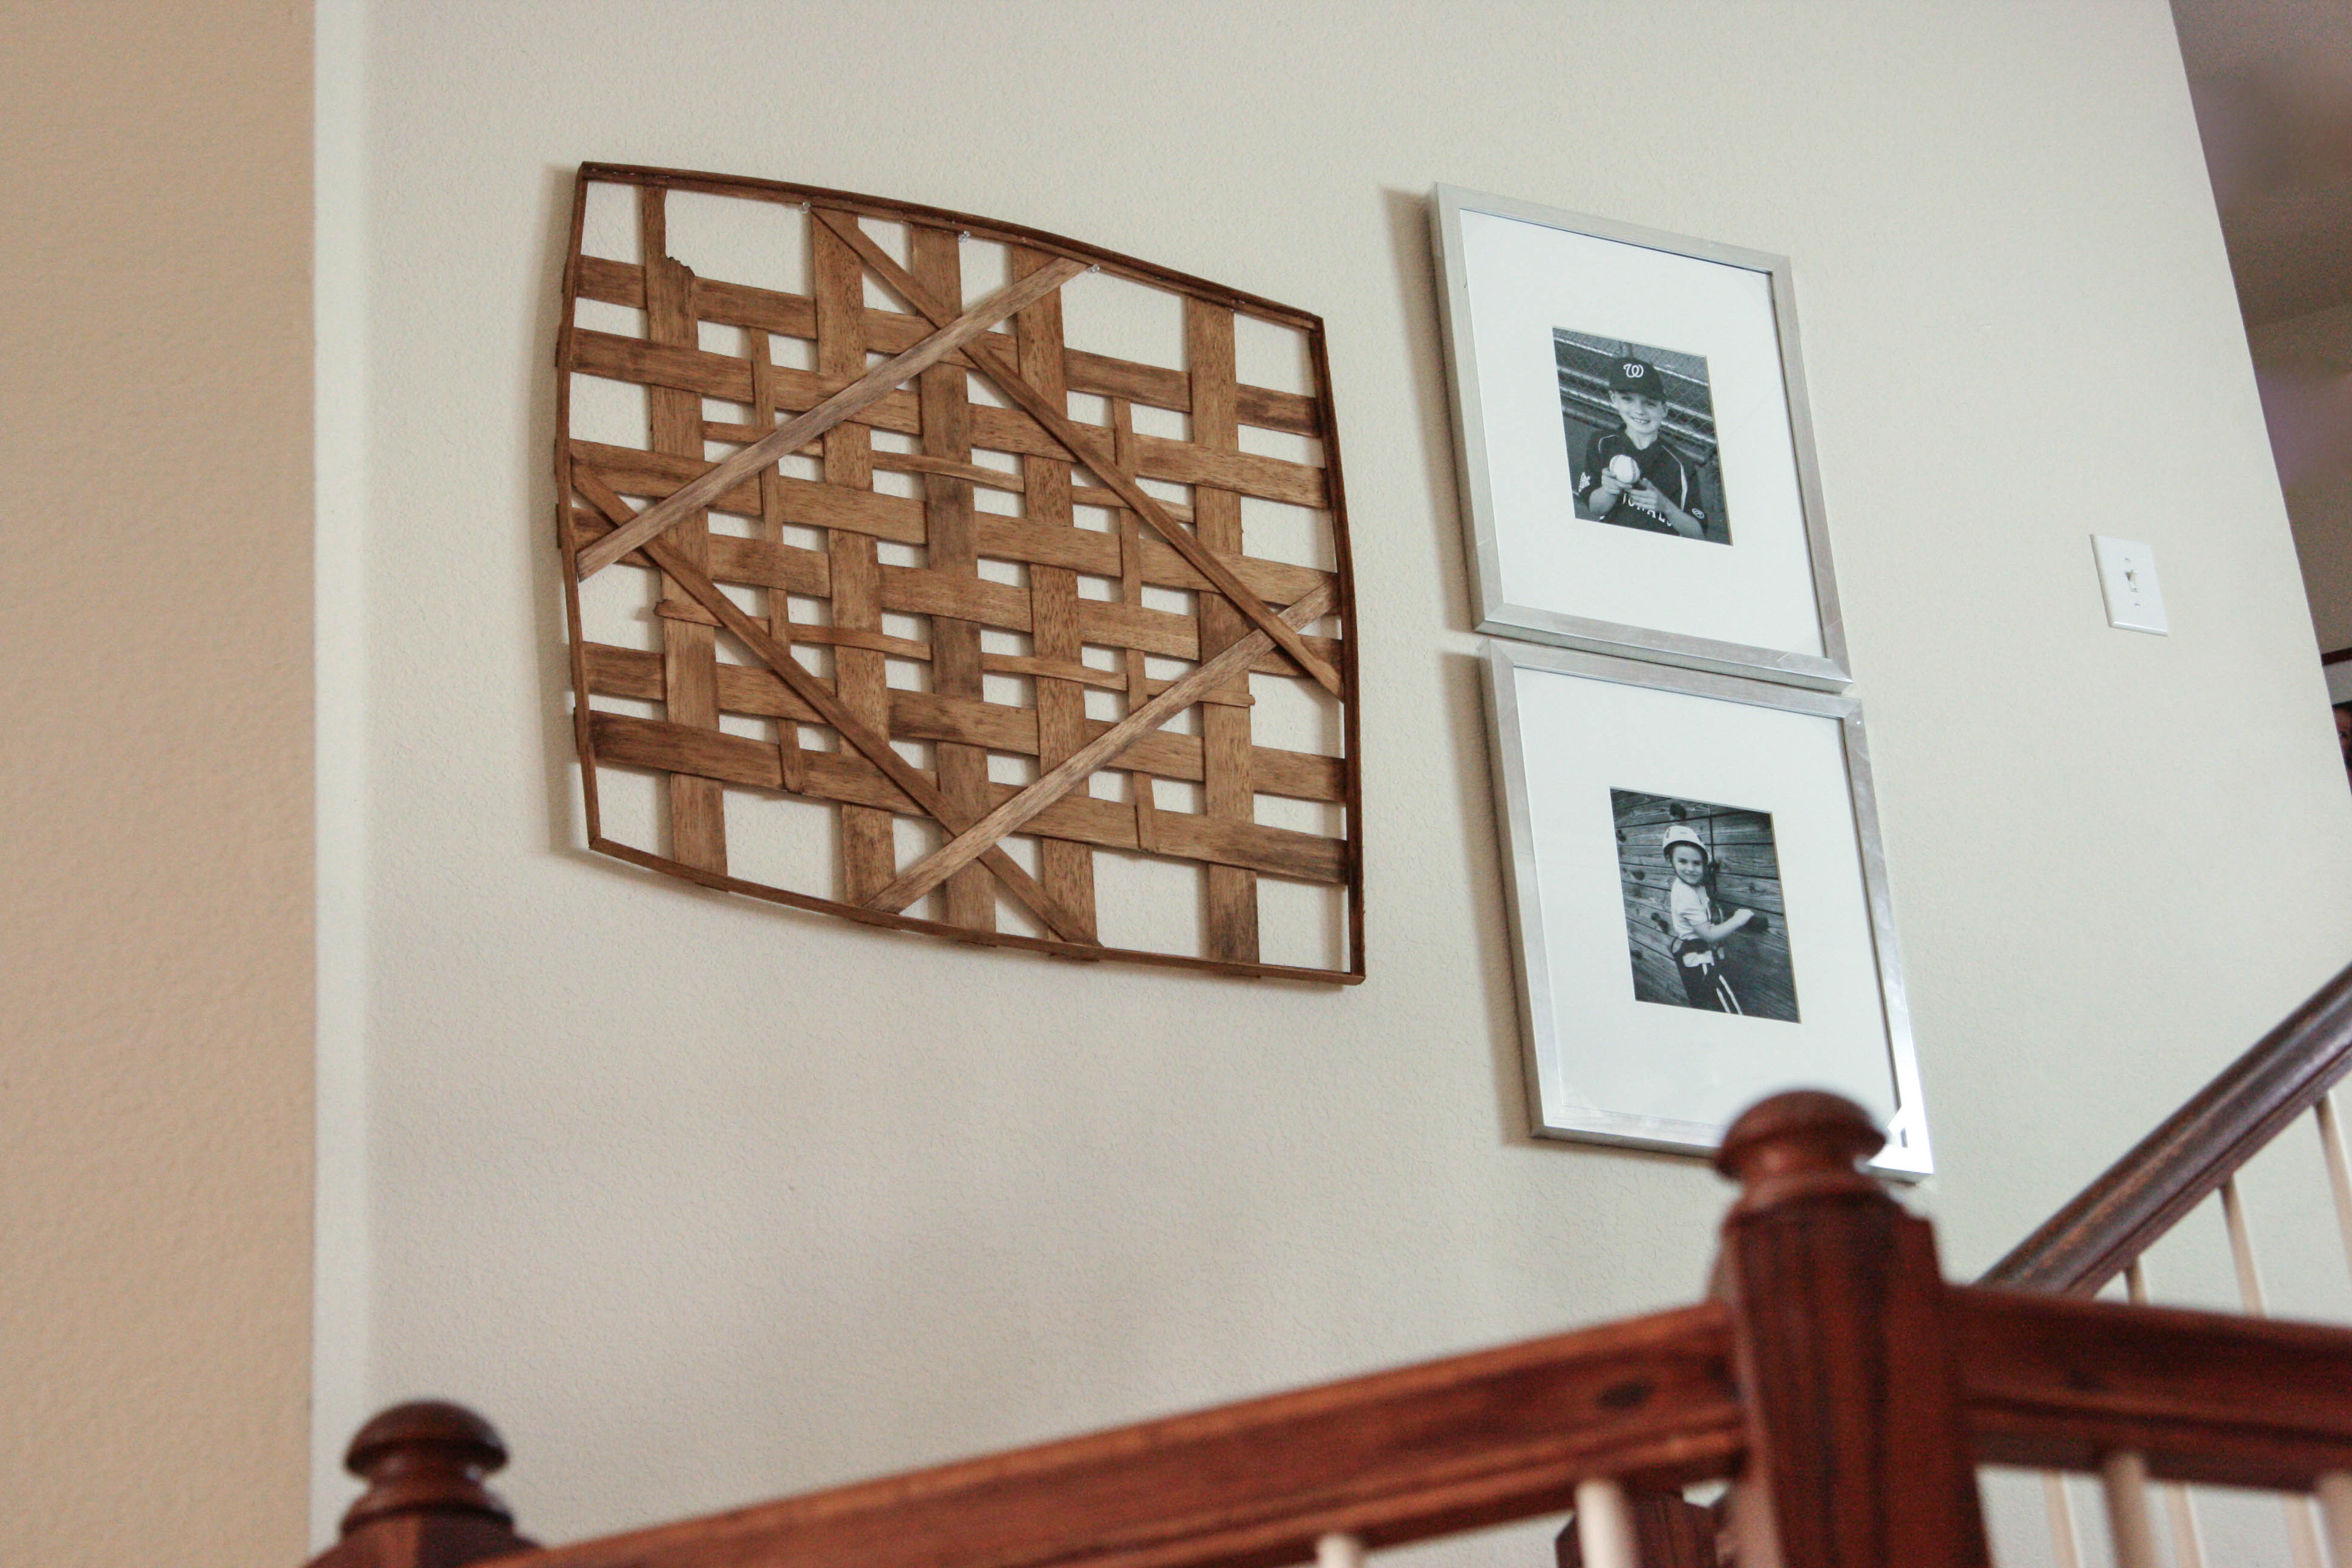
I’m loving the clean but textured look up there now!
So to recap…
- Buy soft wood (mine was Balsa wood from Hobby Lobby)
- Lay out your boards and start weaving them (I used two different sizes)
- Use hot glue or wood glue to attach in some spots to add stability
- Glue thicker pieces along the edges to frame it out
- Stain in the colors of your choice (I varied between several stains to get a worn look)
Hope y’all are having a wonderful day and let me know if you have questions!
xoxo,
B
I can’t believe how realistic it looks! I love how your stain came together… I was thinking it might be easier to stain first, and weave second, but I actually think it would look forced and your technique is best! Love.
Very cool Bee!
Thanks so much!
My mind is blown. BLOWN. This is AMAZING….seriously have wanted one so long and yours looks so, so, soooo good. I’m going to do this!!! Thanks for sharing, I seriously love it!
Thanks Tania! I can’t wait to see yours!
Great job and so creative…way to go on getting the look without spending the big bucks!
Thank you!